Set up the AI receptionist
Give your business a phone receptionist that answers calls, recommends services, books appointments and hands the caller to your team when needed.
The AI receptionist answers your business phone, recommends services from your catalogue, books appointments and transfers the caller to a team member when it can't help. It's set up as a guided flow the first time, and becomes a regular settings page once activated.
Start setup
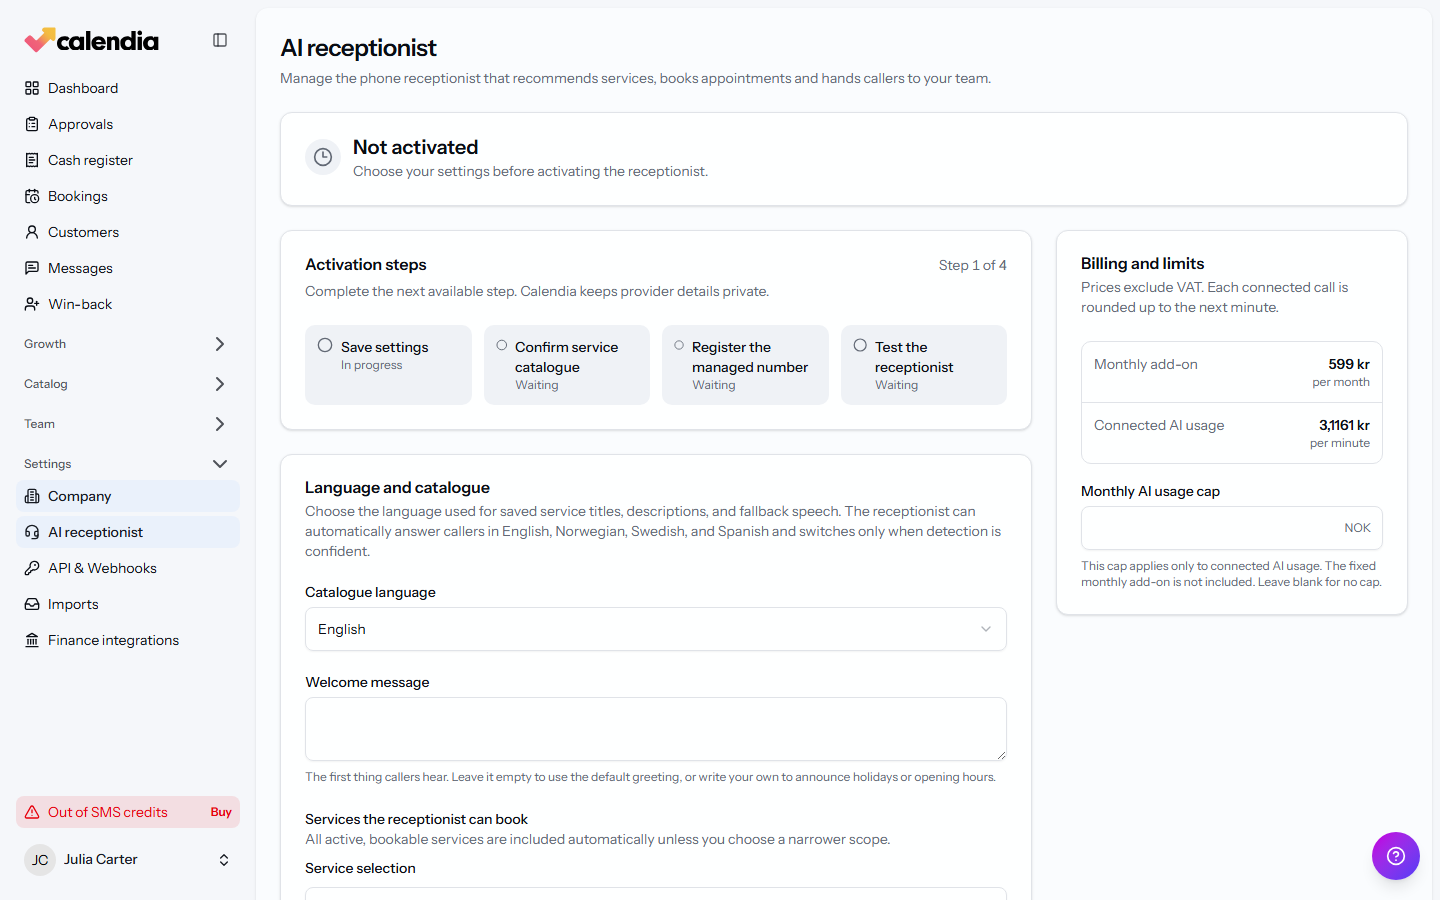
Open Settings > AI receptionist and click Start setup. The Activation steps card walks you through four steps: Save settings, Confirm service catalogue, Register the managed number (or Connect your business number), and Test the receptionist. Each step shows as Waiting, In progress, Checking or Completed, and you can jump back into any completed or current step from the list.
Configure language and handoff
Under Language and catalogue, choose the Catalogue language, write a Welcome message, and set Service selection to all active bookable services, only selected services, or all except selected ones.
Under Handoff and locations, set the Transfer phone number callers get sent to, choose the Callback behavior (offer only when the caller asks, proactively offer one when staff can't take the call, or don't offer callbacks), set Staffed hours, and pick which Bookable locations the receptionist can book into.
Confirm your service catalogue
The receptionist needs a recommendation profile for each bookable service before it can suggest them on a call. Review and confirm the generated Service profiles, add Frequently asked questions, and try the Test receptionist simulator before moving on.
Get a phone number
The AI receptionist is currently available for businesses in Norway, Sweden and Spain. In Norway and Spain you get a Calendia-managed number, which needs your business details verified first — that can take up to 48 hours, and the page updates on its own while it's in progress. In Sweden you instead connect your own Swedish (+46) number: buy or already own one through a DIDWW account, invite Calendia's technical contact to that account with the Technical role, then submit the number and account name for Calendia to configure the connection.
Test and activate
Once the number is connected, call it to test the receptionist. Save a Welcome message if you haven't already, then click Confirm successful test call. Finally, review the price on the Activation steps card and click Activate AI receptionist.
Manage billing
The billing card lets you set a Monthly AI usage cap, see how much of it connected calls have used, and update your billing details at any time. To stop the service, click Schedule cancellation — the receptionist keeps working until the end of the paid period.
Related articles
Online booking settings
Control how far ahead customers can book, what details they must provide, and whether they pay a deposit, the full price, or nothing at booking.
Create a booking
Add an appointment to the calendar from the Dashboard for a fast walk-in booking, or from Bookings for a full booking with recurrence.
Reminders and notifications
Confirm bookings by SMS, remind customers before their appointment, and nudge them to book again once a treatment wears off.